One workspace, different jobs
Keep your switcher's screen on GFX Playout while a presenter tablet uses Confidence Monitor and a stage strip uses Stage Timer.

Screens & Pairing
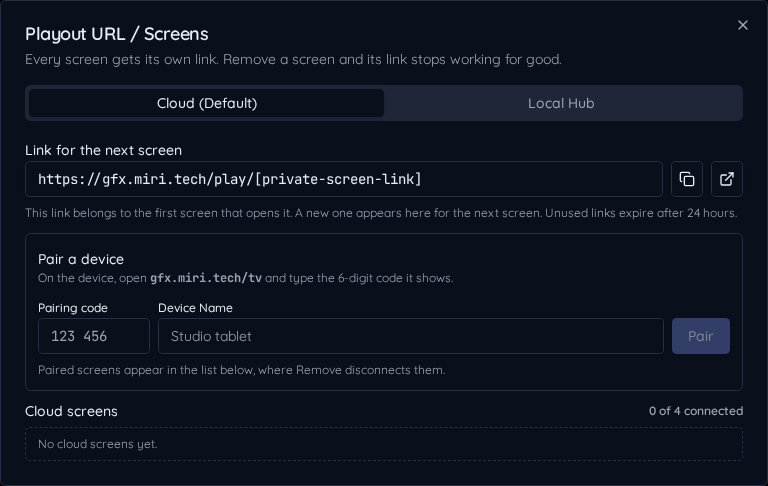
BetaEvery screen gets its own private link. Pair a TV, tablet or switcher input with a 6-digit code, then switch it between graphics, the Confidence Monitor, the Stage Timer or the Teleprompter without re-pairing.
Beta: available to organizations taking part in early access while we finish it.
Change what a paired screen shows from the control room, live.
Remove a screen and its link stops working for good.
Run screens over your own network, cached for shows without great internet.
Open /tv on the destination, enter its six-digit pairing code in Playout URL / Screens, and name the device. Assign its display from the same compact Cloud or Local Hub screen row.
A screen can show audience graphics or a dedicated presenter display. Change its role remotely without making the person at the screen enter another code.
Keep your switcher's screen on GFX Playout while a presenter tablet uses Confidence Monitor and a stage strip uses Stage Timer.
Local Hub relays supported outputs on your LAN and caches graphics. Use the current Hub package and test the exact show before relying on it offline.